Landing pages are an awesome way to sell or promote something to your audience. There are many paid services for creating landing pages in WordPress. However, I’m showing you how can do the same for free, either with or without using PlugIns.
What is a landing page?
A landing page is a website or part of a website which is optimized to promote a certain product or service to the target audience without any distractions.
Right now you are reading a blog. I have different articles and categories for you to choose from. A landing page would just be one page around a rather narrow topic on which I would want my visitors to do something, e.g. to purchase a product or to sign up for my email list.
Landing pages need to be easy to understand and to have a clear focus, as visitors coming from PPC campaigns or search engines might only spend a short amount of time before leaving. Landing pages usually include a call to action; that is, a short instruction on what the visitors should do, e.g. “Sign up now”, “Add to cart.” etc.
The general goal of landing pages is to convert visitors into customers. Most internet marketers don’t create a landing page and leave like it that forever, instead, they’ll engage in a process of continuous optimization to create a landing page with the highest possible conversion rates. A way to do that is by conducting split testing, which I will be explain you in detail in another post.
How to create a landing page in WordPress with PlugIns
First, I’m showing how to create landing pages using free WordPress PlugIns.
1. Install the PlugIn WordPress Landing Pages
Install and activate the plugin WordPress Landing Pages.
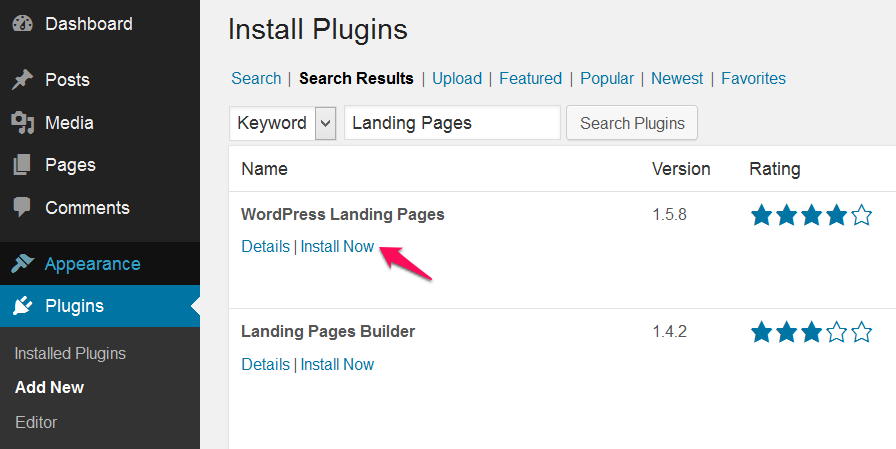
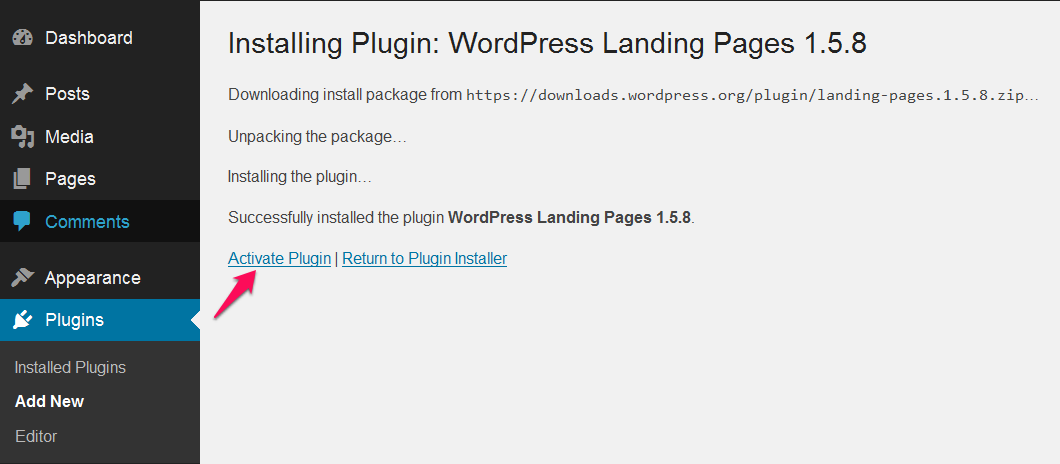
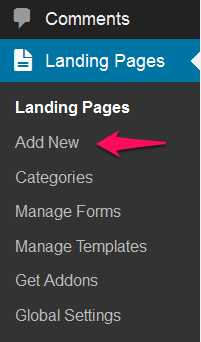
2. Add a new landing page
After installing, the plugin will have created a link in your admin sidebar. Click on it and press “Add new”.
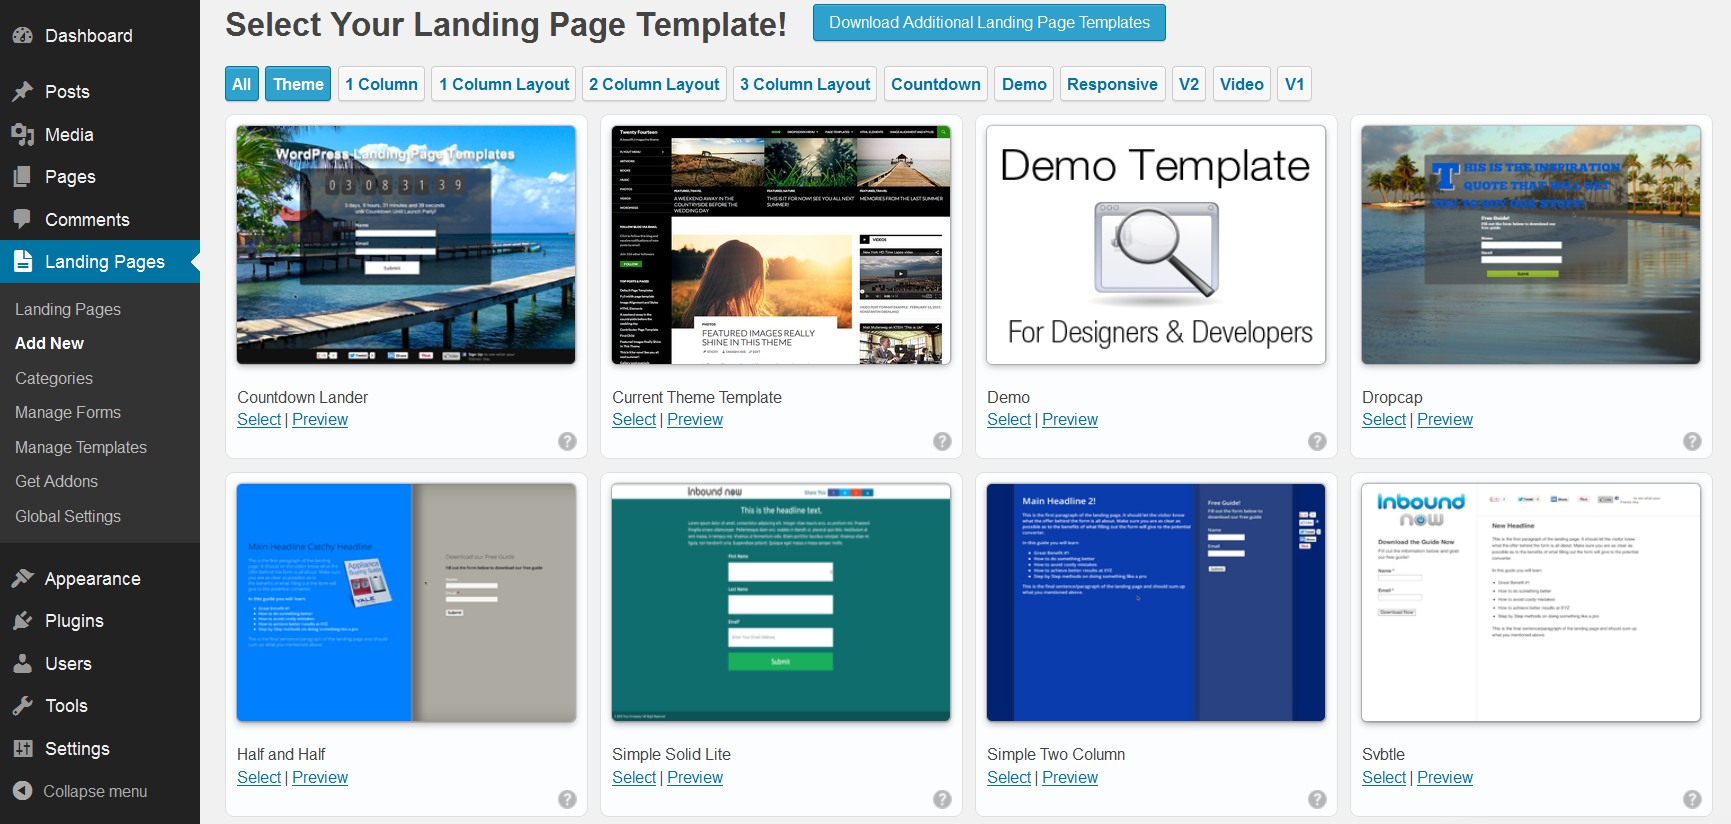
3. Choose a landing page template
Pick one of the landing page templates WordPress Landing Pages offers.
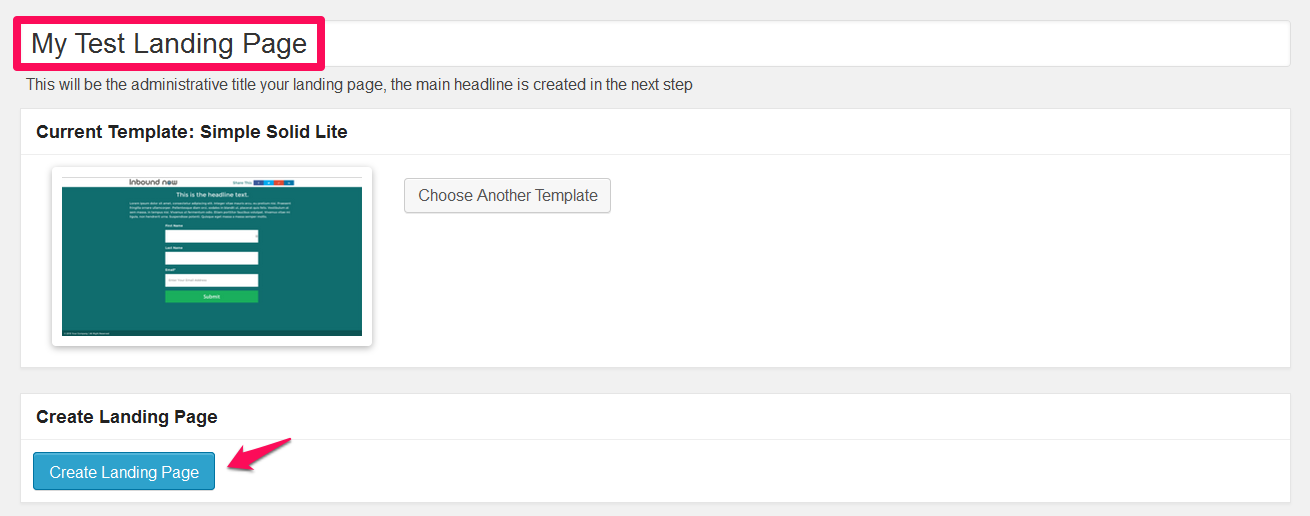
4. Name your landing page and create it
Give your landing page a name. Your visitors won’t be seeing that, it’s only for administration purposes. Press “Create Landing Page”.
5. Customize the landing page
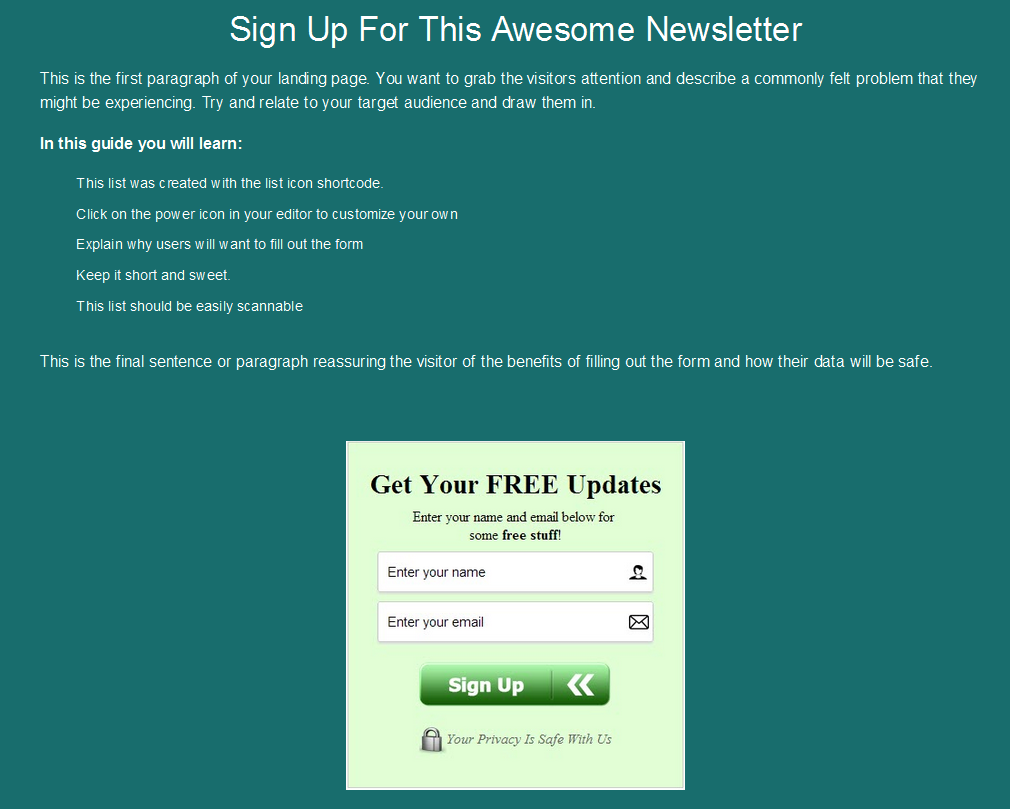
Give your landing page a headline, publish it and then edit its content by clicking “Launch Visual Editor”.
 Use the visual editor to customize your landing page. Under “Marketing” you can add forms to the landing page or change the settings. Sometimes the plugin is a bit buggy here. Keep trying and it will work at some point.
Other WordPress landing pages plugins
I want to show you other free WordPress landing page plugins. Don’t worry about the setup. They all work in a very similar way.
- Impact Template Editor
- WP Lead Plus Free Squeeze Page Creator
- Parallax Gravity – Landing Page Builder
How to create a landing page in WordPress without PlugIns
Now, I will be showing how you can create a landing page without any plugins. I’ll use a fresh WordPress installation and provide code when necessary.
Please note that there is the danger of writing wrong code and, therefore, to stop your site from working correctly. I recommend this way of creating landing pages to advanced users only. In any case, you may want to do a backup before following the next steps.
The general way I’m about to show you will work for all themes out there, although the parts of code that need to be edited will vary.
1. Create a new page in WordPress

2. Give the page a title and publish it
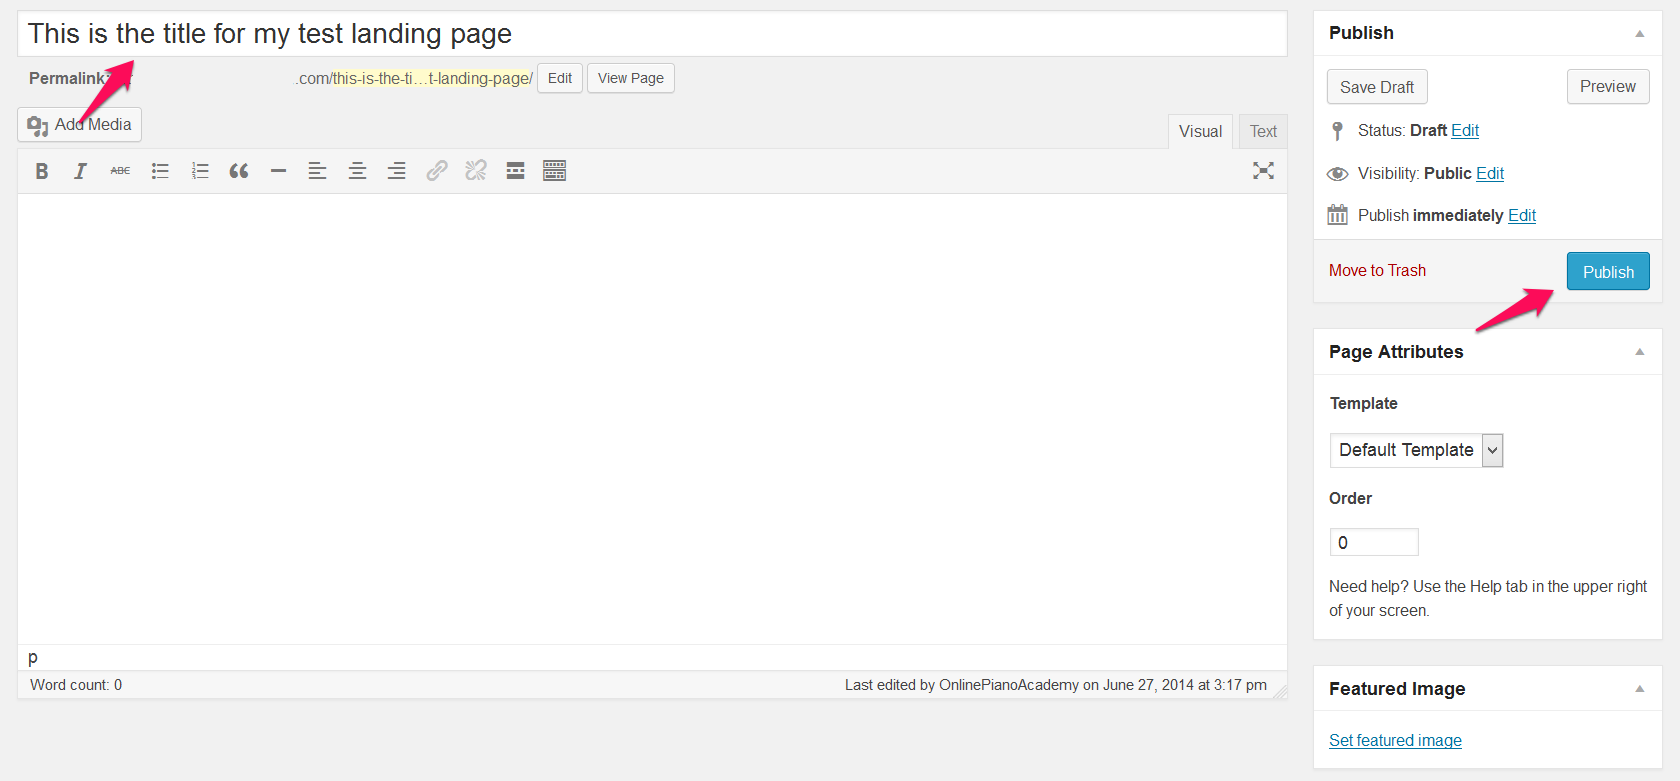
3. Navigate to the page and check its layout
This is how an empty page looks like on a fresh WordPress installation.
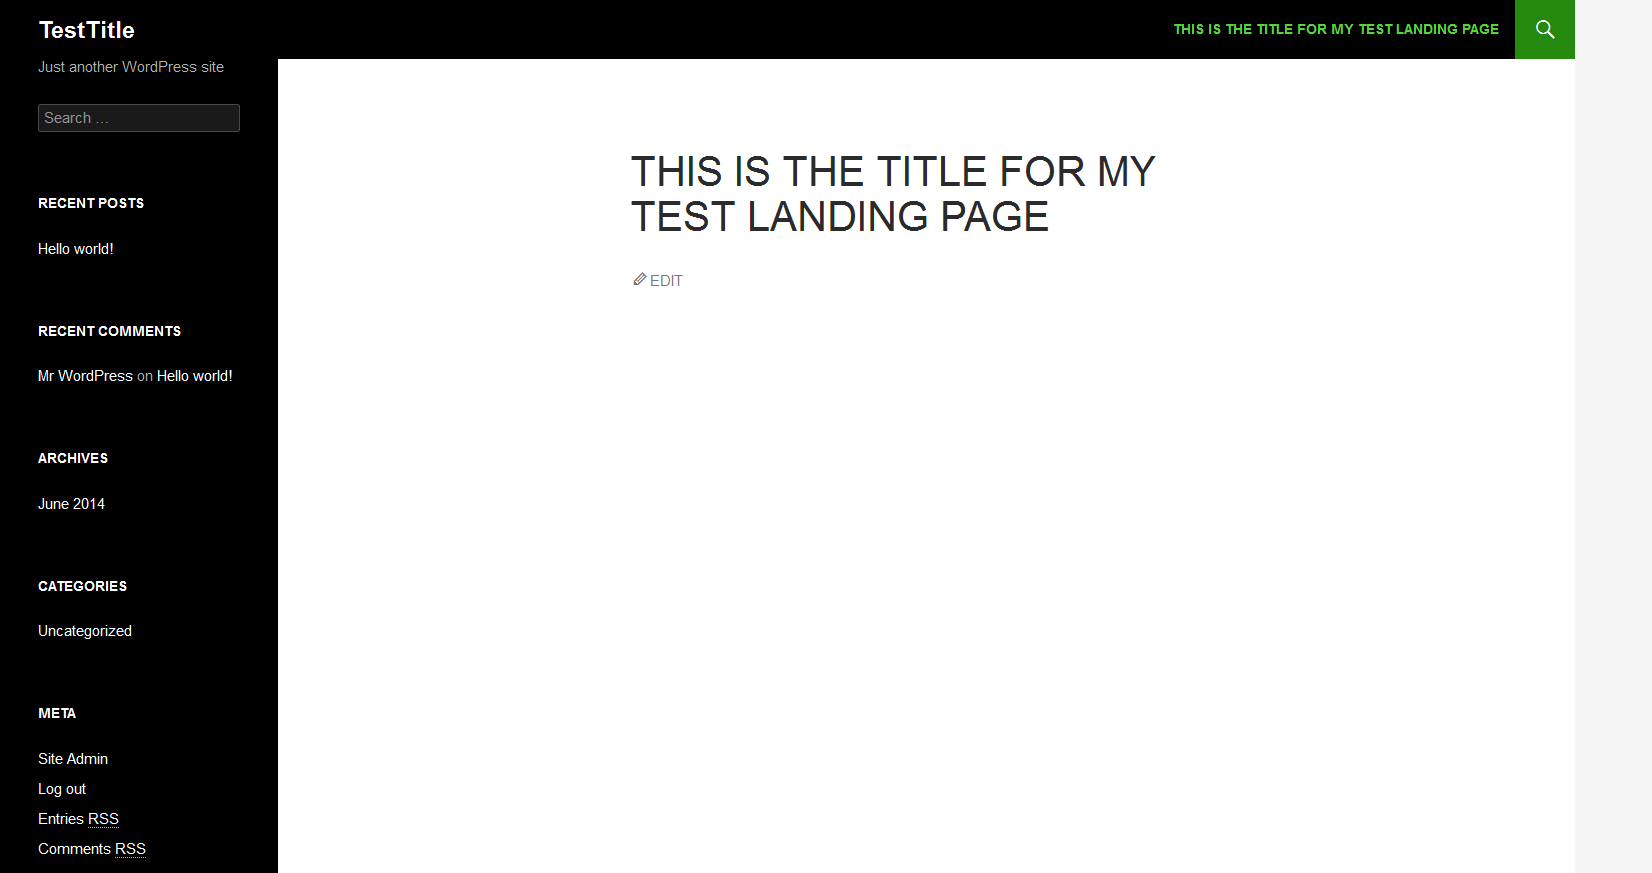
If you are having a website with more content on it, you’ll probably have categories, a navigation, breadcrumbs, widgets etc. However, this stuff needs to be removed for the landing page or otherwise we might distract our visitors from following our call to action.
4. Find the page ID
All elements that distract from the purpose of our landing page need to be removed. It’s important to not do this on every page of our website (imagine a website without navigation!) but only on our landing page. Therefore, we need to find the page ID to make sure we are making changes only to this specific page.
If you are using the default permalink structure, you will see the number, e.g. https://adultwebmasterblog.com/?p=123, where 123 would be the page ID. A site structured with numbers like that is terrible for SEO, so I hope you have the post name or another structure with text in it.
To find out the page ID in this case, you can simply click on „Get Shortlink“ under your the title of your page and you’ll see the page ID.

 In my example, the page ID is number 6.
5. Find the CSS class or ID of the elements that need to be removed
Use a tool that allows you to inspect the elements of a site. I’m using Firebug for Firefox. Use a tool like this and click on the elements that need to be removed.
In my case, I want to get rid of the header, the sidebar and the footer to have a clean landing page. I inspect the header with Firebug by choosing the inspecting tool and then by clicking on the header.
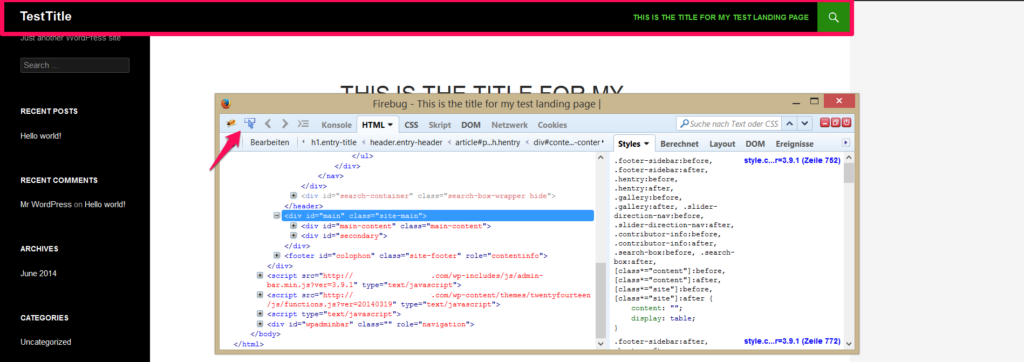
Now, Firebug displays the HTML and CSS code of the header.
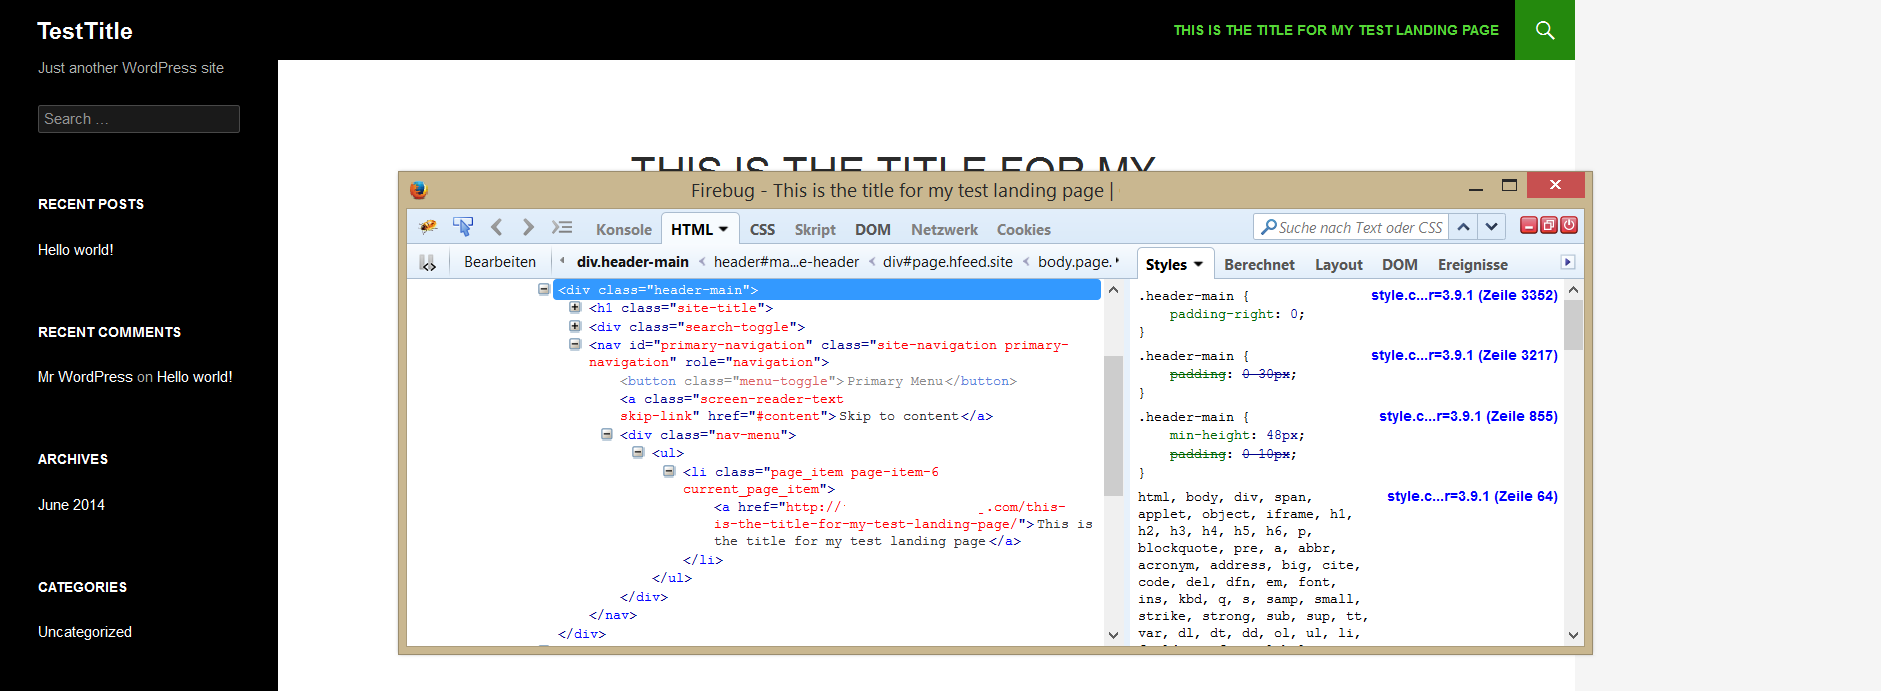
I note that the class of my header is “.header-main”. Now, I’m repeating these steps for all other elements I want to remove. The ID for my sidebar is “#secondary” and the class for my footer is “.site-info”. This will be different for each theme, so you need to find what the classes or IDs are called in your theme.
6. Stop the elements from displaying on your landing page
The final step is to stop these elements from being displayed on your landing page. You have to write some code into your CSS file. In most cases, you will find it in WordPress at Appearance > Editor > style.css.
The general template for removing the elements looks like this (my comments are in round brackets).
[css]body.page-id-(put the page ID here) (CSS class or ID here) { display: none; }[/css]
In my case, to remove the three elements I want to get rid of (header, sidebar, footer), the code I need looks like this:
[css]body.page-id-6 .header-main { display: none; }
body.page-id-6 #secondary { display: none; }
body.page-id-6 .site-info { display: none; }[/css]
I write this into the style.css file of WordPress and press “Update File”.

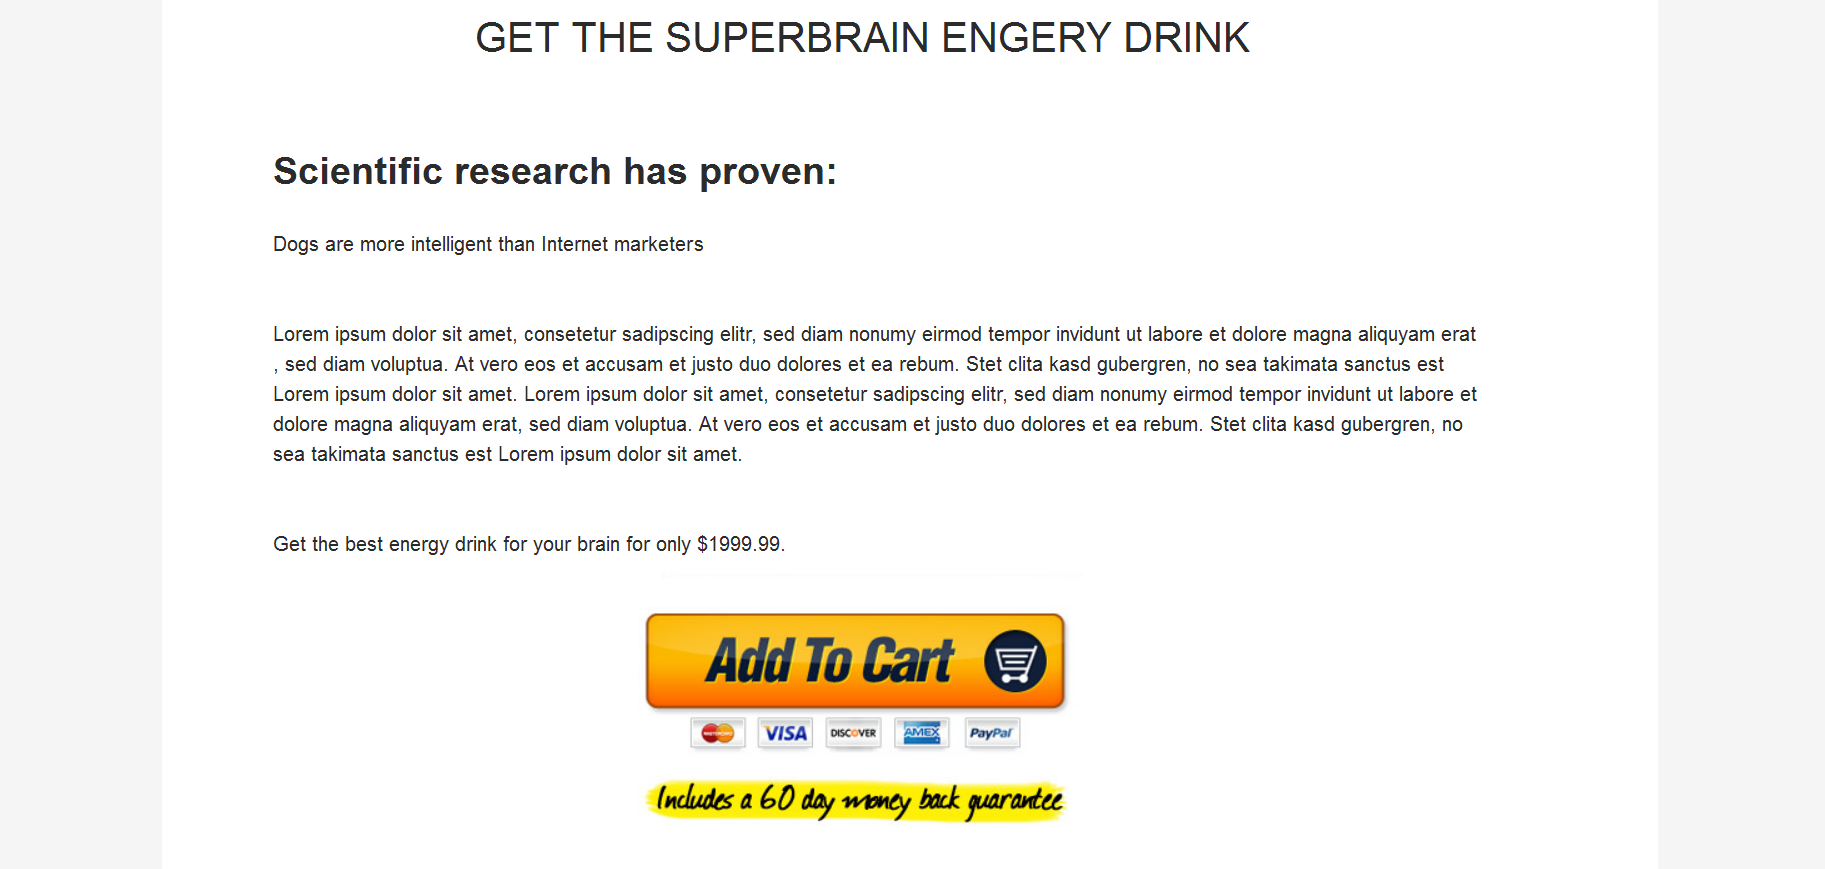
All the distracting elements are gone! I can now write on the landing page in WordPress like I would do it with any other page. The final landing page will of course have the same fonts and colors as the rest of your website, as we did not change them in CSS. You could do that with the same code above applied to colors and fonts though.
Optimize your landing page
Learn how to set up free A/B split testing campaigns to test how different call to actions, buttons, colors etc. affect your conversion rate.
Do you plan to create landing pages in WordPress? Let me know in the comments.


I don’t have a plan for it, right now, but it is great info, well explained, too.
First landing page I made I spent days, to adapt and make it how I wanted. If I had this tutorial, it would have been easier.
Thanks, emi. My first landing page also took my ages to create!
Hi,
why don’t I see the plugins option in my dashboard?
Hi Pradeep,
are you trying this on a wordpress.com blog? It won’t work there. Otherwise please check if you have the latest WordPress version installed. Also, try to delete and reinstall the plugin. Let me know if that helped!